Showing posts with label bowl. Show all posts

Monday, January 26, 2015

As with many things in life, it takes longer to write about them than to do them. The shop cleaning is farther along the path to results than is the writeup, but it is interesting to me do this exercise. I hope it holds some interest for you. I have added a few more pages as I have found some boxes that I have not opened for ages and projects that have laid forgotten for a year or more. There is a lot of work to be done and a lot of work to get to be able to do it.


Saturday, July 30, 2011

How to Make Money With Your Wood Turning Skills


As woodturning continues from beginner to more advanced levels for the enthusiast the question sometimes arises as to how to make money with these wood turning skills. For many hobbyists the dream is to make the enjoyment a money maker, perhaps to the point of it becoming a full time occupation. Here are few things to keep in mind.
First there is the reality of knowing the difference between making money and making a living. Woodturning is a very competitive business and most woodturners who are able to do so for a living have either a long experience at the trade with a great reputation, do a lot of teaching, or have a spouse with a great paying job. It is very difficult to turn full time and have a reasonable income.
On the other hand there are some great avenues for making money as a hobby turner. It is important to be faithful to the art and craft of woodturning and to realize that if you are going to sell what you make, you should price according to the value placed by full time competitors. They are trying to make a living and underselling them is not fair. Besides, if your work is not good enough to compete, it is not fair either to the art and craft to sell inferior work. If you are able to sell at a fair price, chances are the hobby will at least pay for itself and these days that is not bad at all.
Decide what products you are going to sell and ask yourself if you are willing to make them. If your enthusiasm is to turn one of a kind artistic items you will find it to be a high end market that competes with ceramics, painting, photographs and a host of other artistic work. Most woodturners who are able to make money at the craft do so by turning multiples of small items such as pens or kitchenware. Salad bowls by the carload may earn enough money to allow the turning of a few artistic items to keep the interest up.
Craft shows now abound and are a good place to sell woodturnings. If work is displayed professionally and you enjoy working with the public you can have a great time at a show and sell well. Make sure your turnings fit the show and decide to enjoy the experience.
Teaching is another way to expand the income from turning. It is one of the fastest growing area of woodworking today and people are looking for instruction. For a bit of experience show a friend or two something about your way to turn wood and determine if teaching is for you.
While some people do sell work on the internet it will probably be small items turned in multiples once again. Most artistic items will sell only if they are held and fondled first. Wood is a very tactile item in its turned form and folks want to touch before buying.
As in most cases, selling woodturnings is a case of the right price at the right time in the right place. However people have been selling turnings for a long time and it may be the right time for you to start.

Sunday, March 20, 2011

Making Wooden Bowls: Thickness Considerations For The Woodturner

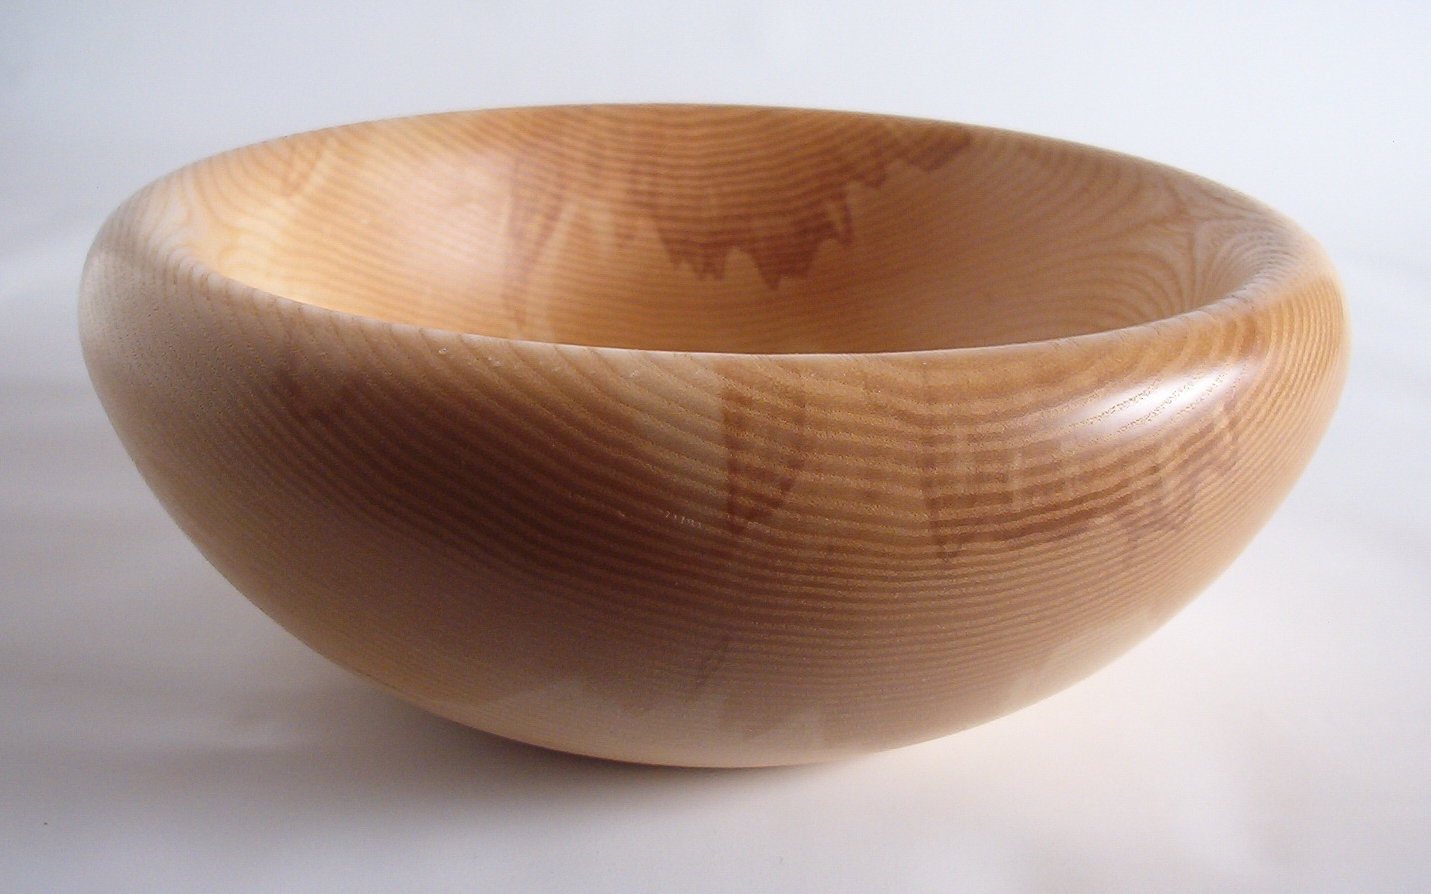
   When making wooden bowls the woodturner enters a world of creation that is thousand of years old. People have been using bowls for a long time and making them just as long. The same design questions that face the potter also face the woodturner. One of these is just how thin or how thick to make the vessel walls. Some questions need to be answered to give some guidlines.

  First of all there is the intended use of the bowl. Is it going to be functional such as a salad bowl or is the intention to be visual as an art piece? Generally, a functional bowl will be thicker so as to give stability and a sense of security. Artistic turnings may be extremely thin to give a sensation of lightness and perhaps an ephemeral quality. On the other hand a different artistic turning may be very thick and heavy to present other feelings and qualities to the beholder.
A third category may be a bowl made to impress and perhaps to impress woodturners in particular. In that case it may be so thin as to allow light to pass through the oiled wood. To make one of these, woodturners hang lights behind the turning piece and thin the bowl to allow an even distribution of light through the walls. It is a good test of skill and a learning experience.
   Functional bowls should have walls that are thin enough to work with the intention of the piece and thick enough to seem right. As a rule of thumb and eighth of an inch of thickness for every inch of diameter seems about right with a bit more for six inches and under and a bit less for bowls over sixteen inches. So an eight inch bowl might be one quarter inch thick while a six inch bowl could be three sixteenths and a sixteen inch bowl, three eighths. Most of the time the best thing to do is not to worry about the exact measurement so much as the look and feel.
   Where the bowl is to be used is also a consideration. Restaurants may have a certain criteria they want followed while a bowl turned for the outdoor deck on a summer night might have walls an inch thick. The popcorn may blow away but the bowl will still be there.
   Most of the time the best thing to do is relax and make the bowl. If the lines look good and the bowl feels right, chances are the design is good. Sometimes all the practise pays off and the bowl looks absolutely fabulous. The hunt make all the turning just that bit more special.

Monday, November 03, 2008

Another Use for Bottom Jaws

Woodturners have variations on how to turn the bottom of bowls. Most use a donut jig or some sort of chuck jaws such as ones with plans on my web site, Bottom Jaws. However, any of these methods can also answers what has been a problem for many of us, how to save a bowl that has become a funnel.

By this I mean the times that I have had a bowl almost finished to find that a lapse in attention has caused me to turn through the bottom into the waste block I commonly use. I know; using a depth gauge would have prevented the difficulty but so would hove not permitting my mind to wander. However, I do know that I am not alone here, most of us have some pretty kindling with nice bowl sides and a hole in the bottom.

One way to solve the problem is to glue on a separate piece of wood to the bottom of the bowl and turn it cleanly. The difficulty is remounting to the lathe so as to leave everything centered. The answer is a flip.

1) glue the new bottom in place and about 1/4" too thick.
2) mount the bowl in the bottom jaws
3) turn a tenon on the bottom
4) FLIP the bowl over so as to hold the tenon in regular chuck jaws
5) turn the inside, sand and finish
6) FLIP the bowl into the bottom jaws
7) remove the tenon
8) turn and finish the bottom

hope it helps

Wednesday, January 30, 2008

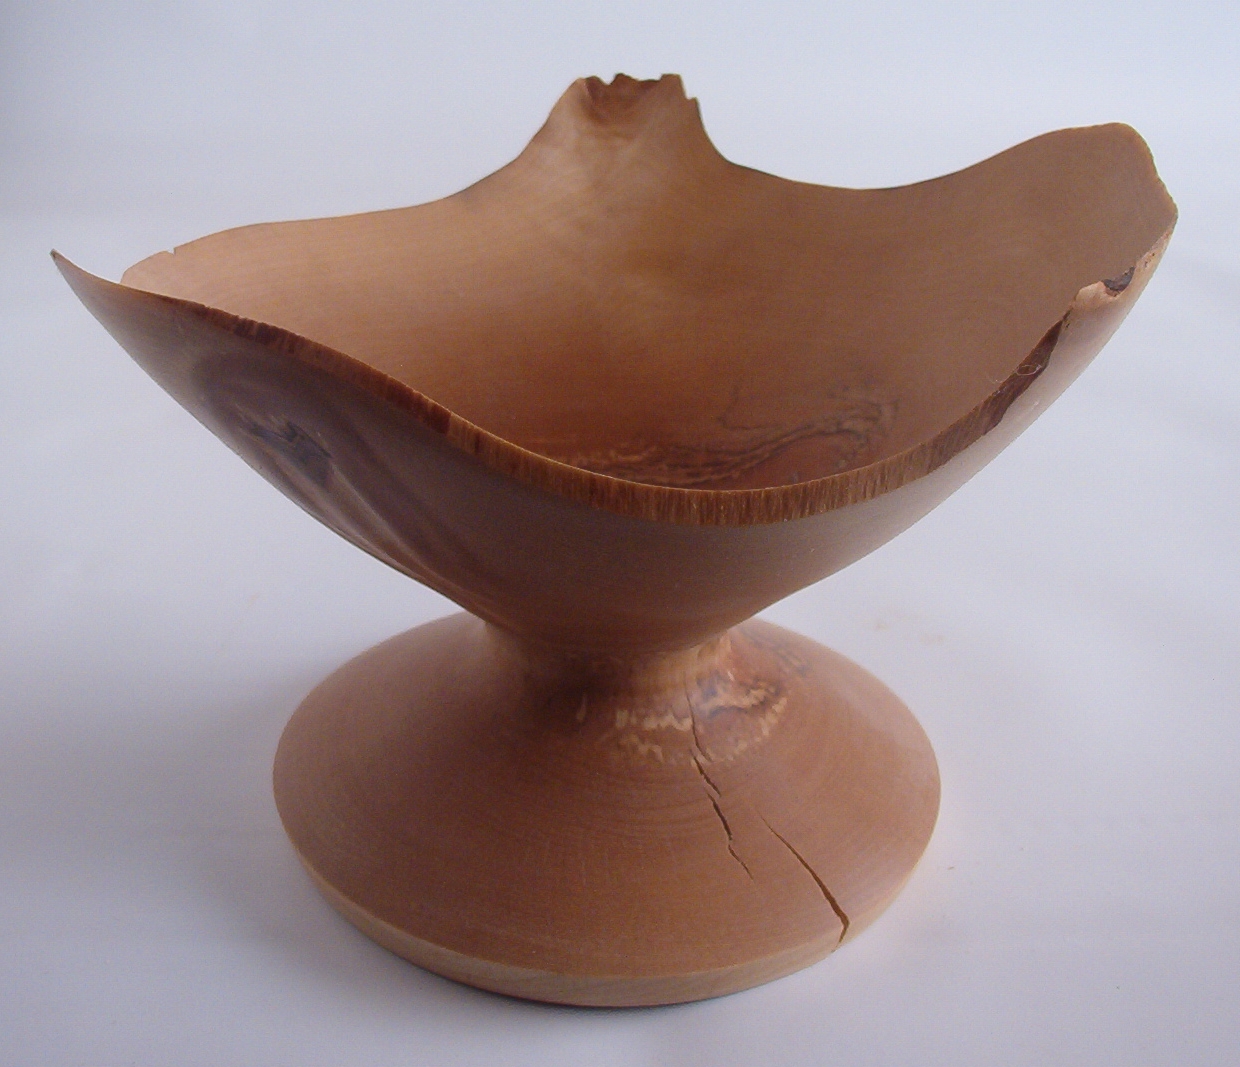
Natural Edged Bowl - Roughing Inside

Ta Dah! this is the 100th entry on the blog. Applause please. Now that we have that over, I have managed to get another video up on YouTube dealing with the natureal edged bowl. This is the fun part, roughing the inside. This is also the quickest part, especially here with so much air to turn. Air turns fast. Duh! As always, comments are appreciated.

Tuesday, December 04, 2007

Roughing a Bowl, Video 7; turning the inside (b)


Here is that second part to roughing the bowl inside. Mostly it is finishing the bottom and removing the tenons including a catch and a flying bowl. Ooops. Any way, hope you enjoy this. I am amazed how many videos I can watch of wood flying in all directions.

Monday, December 03, 2007

Roughing a Bowl, Video 7; turning the inside (a)


I know this is dragging out but it takes ages to get a decent video out especially being the amateur I am. Besides, YOuTube only lets me put up so much in one clip and it is the easiest way to get the stuff out that I have seen so far. I will eventually get some of these on a file for download to a CD or DVD if anyone is interested.
The bowl is continuing on. Unfortunately for me, clearing the inside is one of the fastest parts of roughing a bowl and is also one of the most fun. This five minute clip in real time flips the bowl to remount, measures the sides and bottom for good drying and narrows the tenon for later release. The tools used are a 3/8" and 1/4" Oland. This is likely one of the reasons that I have a lot of bowls waiting to be refinished but that is a later project time and another video.

One of the things I have in mind is a set of short videos on Oland tool cuts, again if anyone is interested. At present I am in the beginning stages of video and pictures of a Wood Turning Basics web book based on the Milton and Wohlers text and I will bounce back and forth from doing that and other projects for the next year at least until it is done.

Anyway, enjoy the video or at least watch it and as always, any comments are welcome.

Friday, November 30, 2007

Roughing a Bowl, Video 6; turning the outside


I am continuing the video series with the outside turning. It gives an idea of using the Oland tool on some green wood. The video is real time of course. I had to remove about 70 seconds of time in order to fit it to YouTube's length allowance but it gives a good approximation of time involved for roughing a bowl. I will try to get the inside turning up in a few days. I suppose this means I need to shoot the finishing video for a bowl as well, but it will likely wait until after Christmas.

Tuesday, November 27, 2007

Roughing a Bowl, Video 4: Knocking off the corners


Once the blanks are marked I like to cut off the corners before mounting on the lathe. First of all it tends to give a better balance without all the extra wood. There is also a chance to cut off any extra bits and pieces that might otherwise give balance problems. Second it allows for a bigger bowl to be placed on the lathe. The diagonal of the blank is about 1 1/2 times as long as the diameter of the blank. Actually about 1.4 times for all you fussy mathematician types. Getting as much of the extra wood off the corners as possible allows me to turn a 16" bowl on my 16" lathe instead of only a 10" to 11". Finally, the chainsaw is a bit faster than the lathe at the wood removal.

Friday, November 23, 2007

Roughing a Bowl, Video 3: Marking out the circles


I like to cut away as much as possible of the blank before roughing the bowl. Some turners with larger and more powerful lathes like to throw on the half log and turn but I find the chain saw faster to work with. Also, the better balanced the blank the easier and safer to turn.

Actually, for larger bowls, say 10 inches and over, I usually cut an angle at the ends to match the slope of the sides, but this is a more dangerous cut for the inexperienced so I left it out of the video. Hope you enjoy.

Wednesday, November 21, 2007

Roughing a Bowl, Video 2 : ripping in two


In this part I rip the log sections in two to create 2 blanks per section. This is one of the safest cuts for a chainsaw but also a hard one on the saw. Maintain an angle of about 60° through the log and allow the shavings to clear. Chainsaws are intended for crosscuts and the long shavings of a rip cut can cause the saw to bind. They can also interfere with the oiler so make sure that there is sufficient oil for the chain. I just use a regular sharpening of the chain. The saw buck with a channel here is superior to the "X" shape buck which would cause the wood to bind when the cut is completed and the two sections slid down the sides of the "X" to the center, trapping the bar between them.