Sunday, March 20, 2011

Making Wooden Bowls: Thickness Considerations For The Woodturner

   When making wooden bowls the woodturner enters a world of creation that is thousand of years old. People have been using bowls for a long time and making them just as long. The same design questions that face the potter also face the woodturner. One of these is just how thin or how thick to make the vessel walls. Some questions need to be answered to give some guidlines.

  First of all there is the intended use of the bowl. Is it going to be functional such as a salad bowl or is the intention to be visual as an art piece? Generally, a functional bowl will be thicker so as to give stability and a sense of security. Artistic turnings may be extremely thin to give a sensation of lightness and perhaps an ephemeral quality. On the other hand a different artistic turning may be very thick and heavy to present other feelings and qualities to the beholder.
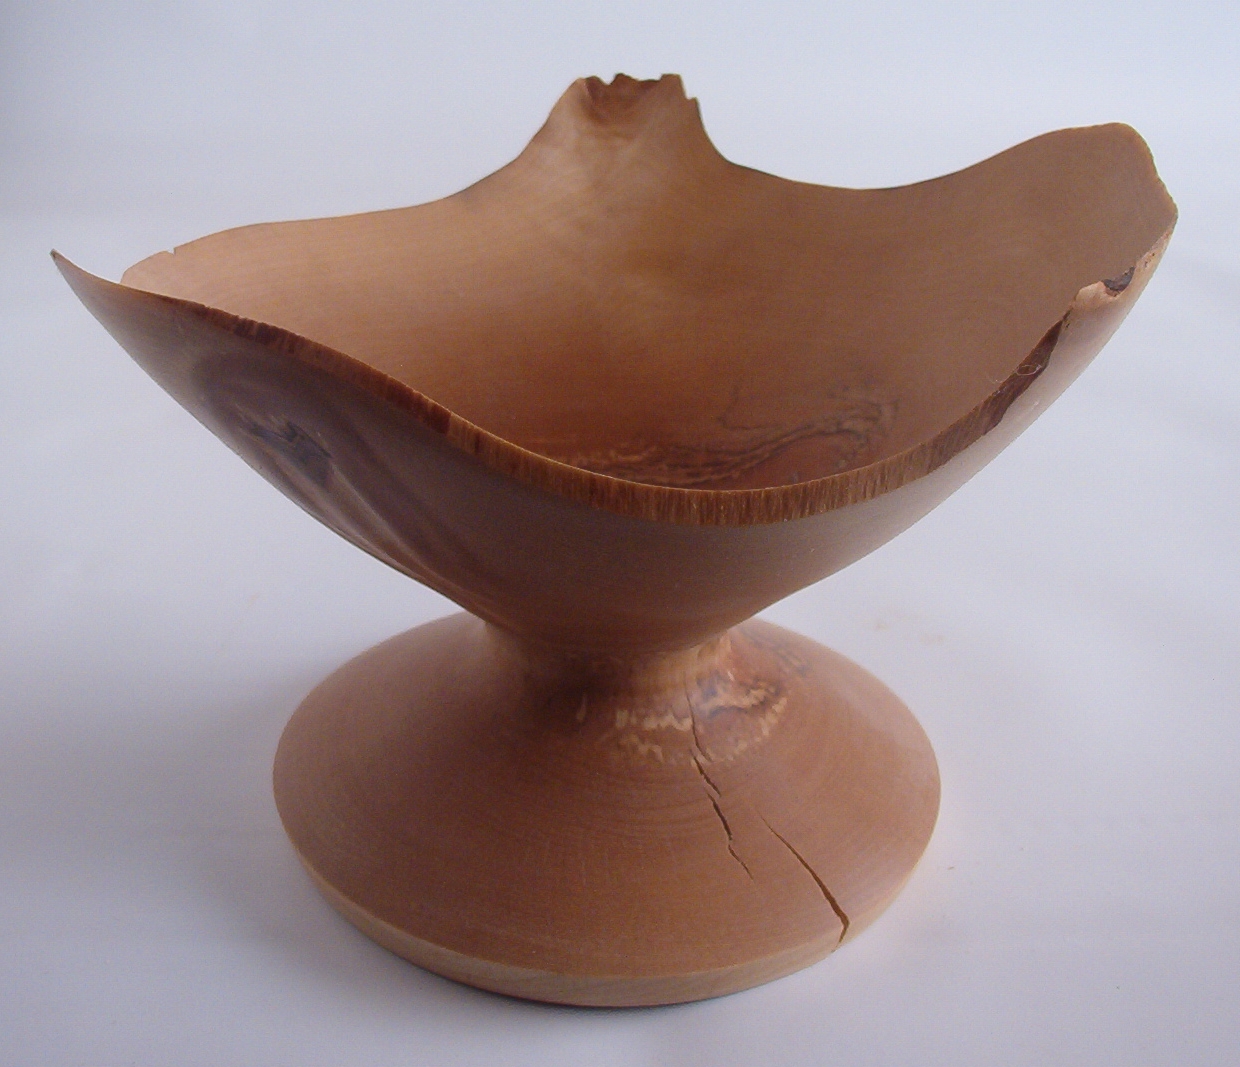
A third category may be a bowl made to impress and perhaps to impress woodturners in particular. In that case it may be so thin as to allow light to pass through the oiled wood. To make one of these, woodturners hang lights behind the turning piece and thin the bowl to allow an even distribution of light through the walls. It is a good test of skill and a learning experience.
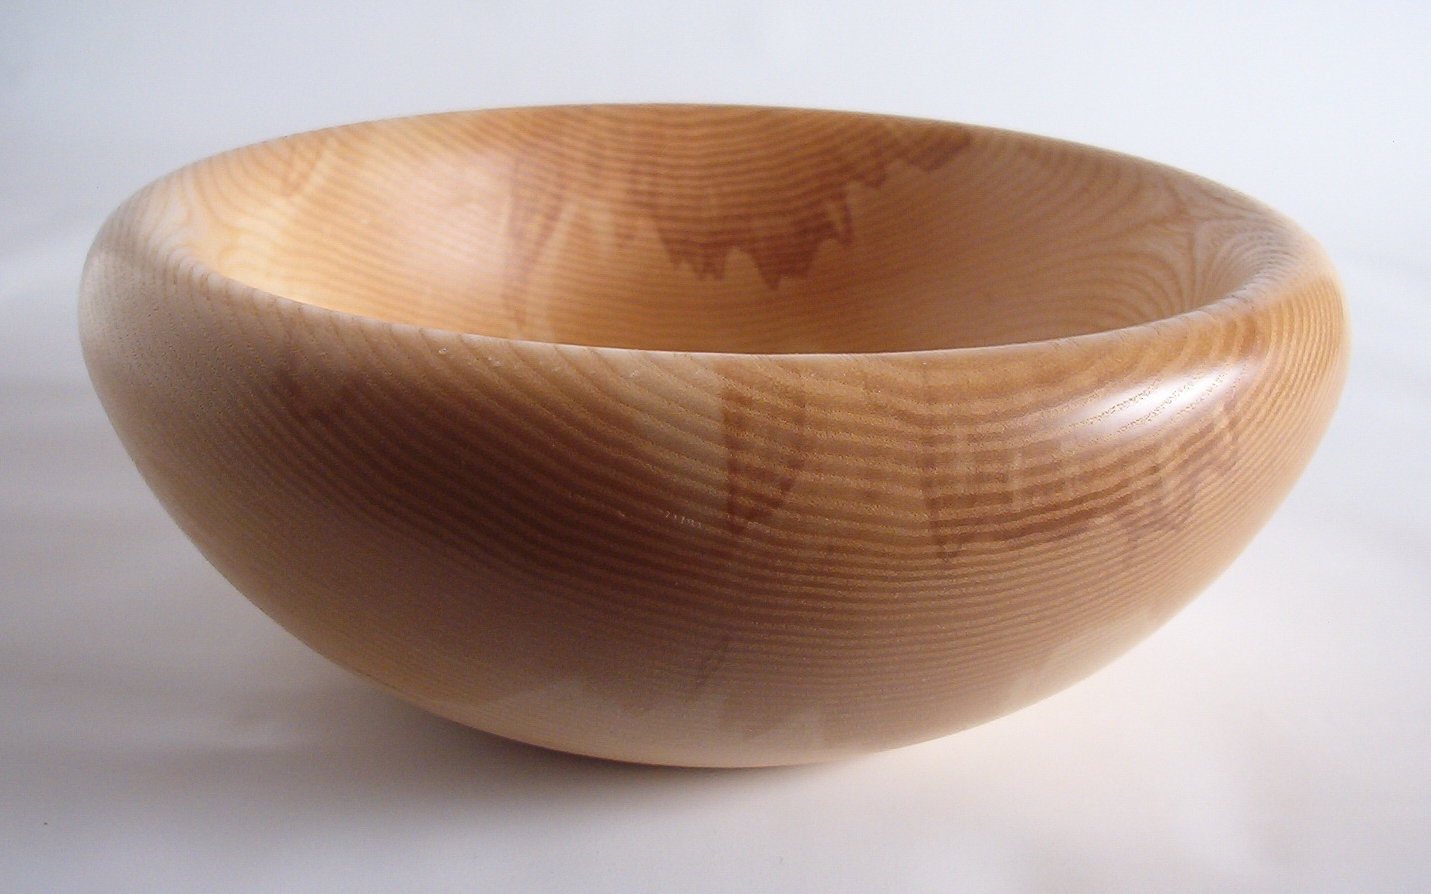
   Functional bowls should have walls that are thin enough to work with the intention of the piece and thick enough to seem right. As a rule of thumb and eighth of an inch of thickness for every inch of diameter seems about right with a bit more for six inches and under and a bit less for bowls over sixteen inches. So an eight inch bowl might be one quarter inch thick while a six inch bowl could be three sixteenths and a sixteen inch bowl, three eighths. Most of the time the best thing to do is not to worry about the exact measurement so much as the look and feel.
   Where the bowl is to be used is also a consideration. Restaurants may have a certain criteria they want followed while a bowl turned for the outdoor deck on a summer night might have walls an inch thick. The popcorn may blow away but the bowl will still be there.
   Most of the time the best thing to do is relax and make the bowl. If the lines look good and the bowl feels right, chances are the design is good. Sometimes all the practise pays off and the bowl looks absolutely fabulous. The hunt make all the turning just that bit more special.

Thursday, March 10, 2011

Mounting Wood On A Lathe: Getting A Square Ready


One of the more common ways for people to come to a wood lathe is a woodworker expanding their skill set by wishing to turn legs for a table. This involves mounting a square length of wood to the lathe. Such a common skill requires only a few tips for success.
Assuming the lengths are truly square it remains to mount them to the lathe so that they are truly centered and secure. This is generally a mounting “between centers.”
There are two centers on a lathe, the head stock center or spur center and the tails stock center or tail center. The spur center has a point in the middle and two or four spurs surrounding it. The point keeps the wood from shifting and the spurs engage the wood so that the head stock can drive it.
Tail centers will be either solid or will have bearings mounted so that the center spins. Such a center is called a live center and is highly recommended. Solid or “dead” centers require a drop of oil from time to time to allow good motion of the wood on them. The mid point of tail centers sticks into the center of the wood and prevents it drifting under the pressure of turning.
The center of each end should be carefully found and marked. While there are various implements on the market for doing so, the easiest system is to hold the wood upright in the bench vise and draw lines between the diagonals. The lines cross at the center. Generally the ends of the square will not be seen as the table will obstruct them so the lines are not an issue. If they become one, sandpaper will quickly fix things.
It is a good idea to take an awl and mark the center with a small indentation. When the centers press into the wood they have a tendency to move a bit to the side so the indentation helps to start them on center.
Some people like to make a small cut along one set of diagonals with a saw so as to give a groove for spur center to settle into. This is not necessary and it is simpler and faster to put the center in place off the lathe and strike it smartly with a mallet to seat it into the wood for a good drive. Once the spur center is in the lathe and in place in the wood, the tail center is brought up and the point is pushed into the center depression in the wood. Next the tail center is locked in place and then the center is snugged up. Now things are ready to turn.
Squares are mounted to the wood lathe for many reasons or projects such as candle sticks, rolling pins, potato mashers and table legs to name only a few. Mounting between centers can look flimsy at first but a few episodes will quickly build confidence and craftsmanship, adding to the great enjoyment of turning wood.

Saturday, March 05, 2011

Chainsaw Use For The Woodturner


   Very quickly, woodturners learn that one of the difficulties of woodturning is the acquiring of wood large enough for faceplate turning. It is both difficult and expensive. However, there is often a good supply of local wood in log form if the means to deal with it are available. A chainsaw makes the handling of logs and their processing into turning blanks readily accessible.
   One of the first things to know about a chainsaw is its danger. A chainsaw is one of if not the most dangerous power tools in the woodworker's arsenal. The working part of the saw is a bar covered with a moving cutting chain that is designed to crosscut through hardwood. As such it will not even pause for flesh. In addition it is a simple matter to catch the tip of the bar in such a manner so as to make the saw kick back or jump at the user with amazing speed and power. With this said, there are many people who use a chainsaw day in and day out without problem. While the risk of using any power tool rests with the user, it is a good idea in this case to get instruction from an experienced user before handling the saw on your own.
   Chainsaws come in a variety of types and sizes but for most woodturners there are some simple considerations to think of when buying. Saws are sized by power and bar length. As a general rule subject to all the dangers of generalities, a sixteen inch bar will be long enough for most turners and twelve will be a little short at some point in the woodturning career. Another general rule is to buy the most powerful motor you can afford. It is easier on the user and the saw assuming the weight is also good for the user.
   The power source will be either electric or gasoline. Gasoline is more convenient outside the shop but there is a danger form carbon monoxide when running an internal combustion engine indoors not to mention the huge noise from the motor. Electric saws require heavy extension cords and in general cut slower than gas saws, but are quieter and get the job done.
   The turner should learn to sharpen and maintain the saw. Chains dull quickly if they hit rocks or nails in the wood and sometimes they touch the ground when cutting logs to length. A chain that hits the ground is dull and needs sharpening. This is not difficult to learn and files for sharpening are cheap. If the saw is kept with the bar oiled and the fuel for a gas saw mixed properly, a routine maintenance check by a good repairman or dealer is all that will be needed for long saw life.
   Chainsaws need not be fearful for the woodturner to use and will make the gaining of bowl blanks and the like much easier. Good instruction can make all the difference in the pleasure added to getting ones own wood for woodturning.